If you've successfully conquered the initial mechanics of Salvation's Edge, you'll find the second encounter, Dissipation, builds upon that foundation with some spicy new twists. This encounter introduces players to the first proper boss fight against a formidable Taken Captain bearing an uncanny resemblance to the infamous Taniks. While the core plate mechanics from Substratum remain, Dissipation throws additional challenges into the mix that demand perfect coordination and situational awareness from your entire fireteam.
💀 Encounter Preparation & Initial Setup
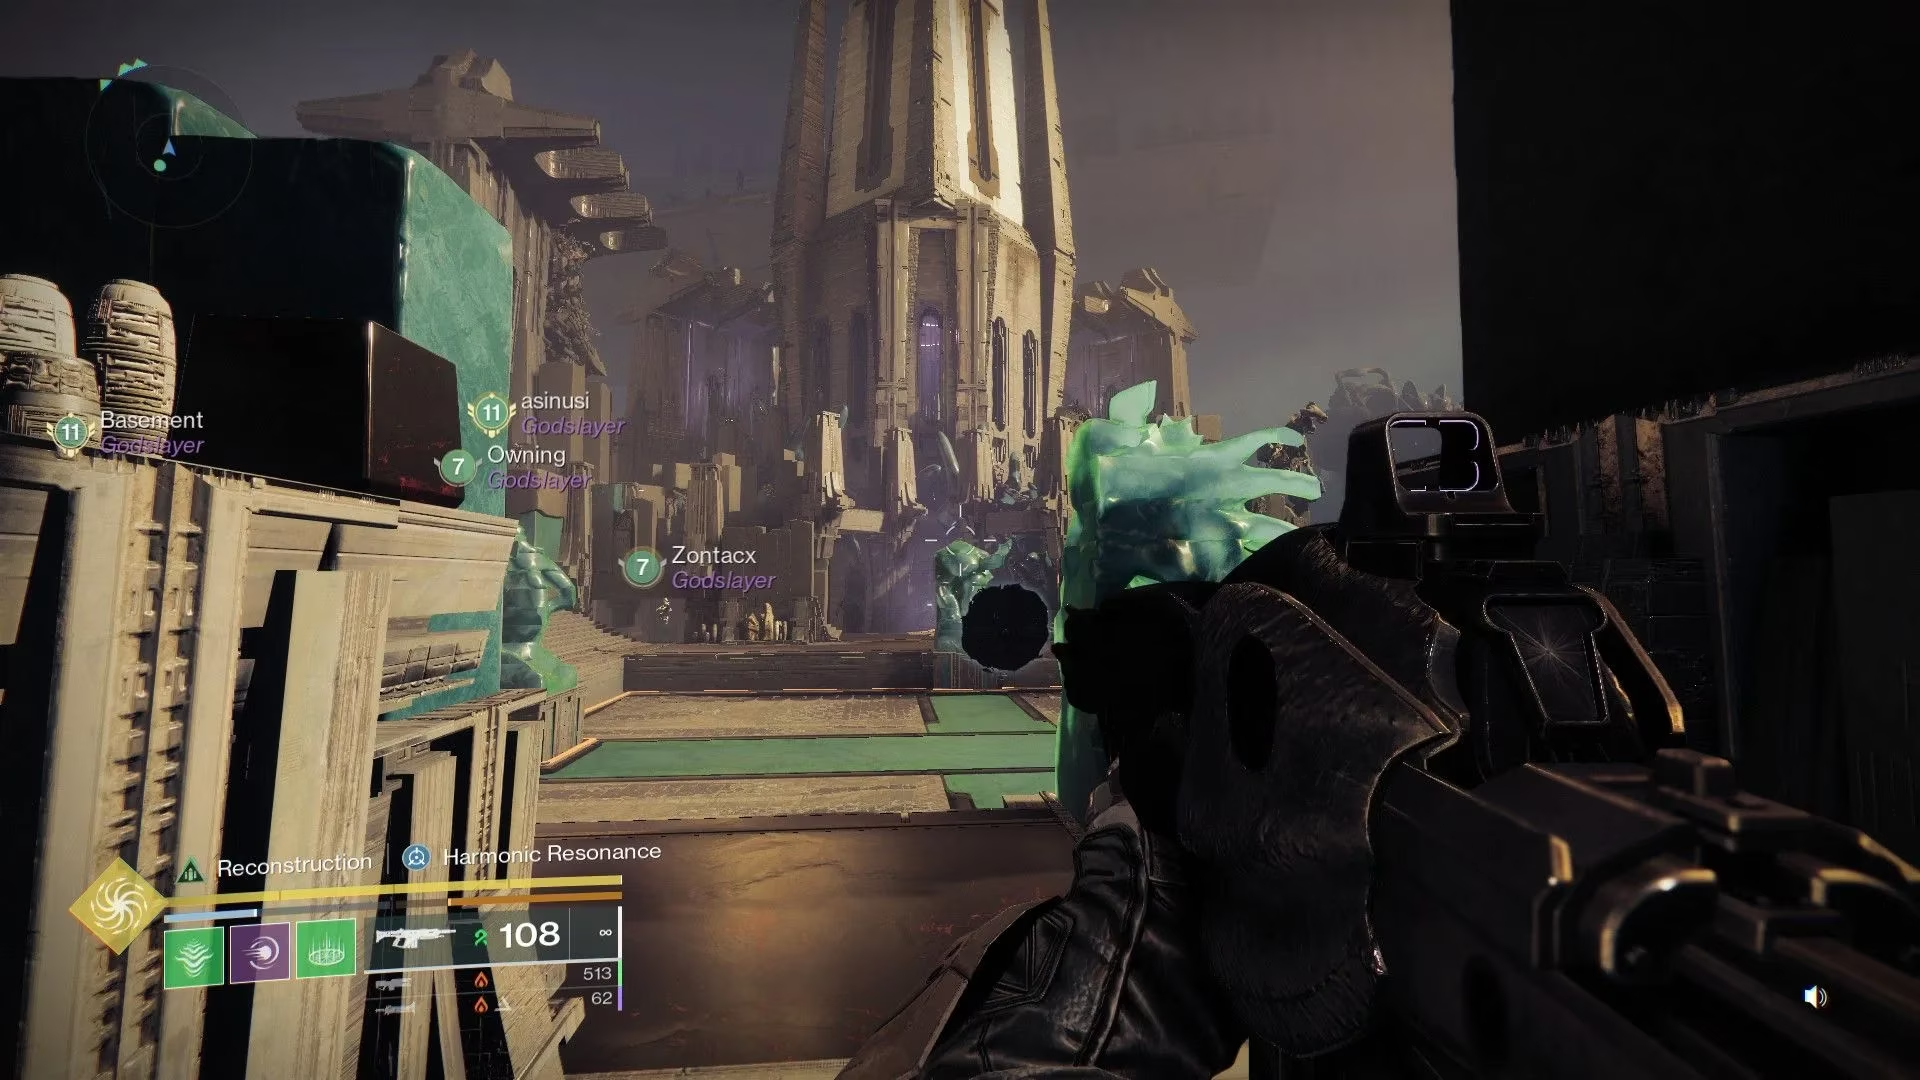
Before diving into mechanics, let's talk survival strategy. This arena is absolutely brutal when it comes to add density - you'll be constantly swarmed by both Dread and Taken enemies with very limited cover options. Conditional Finality remains a top-tier choice for add control despite any meta shifts. Fortunately, no Champions spawn here, but the environmental danger is very real.
Team Composition Strategy:
-
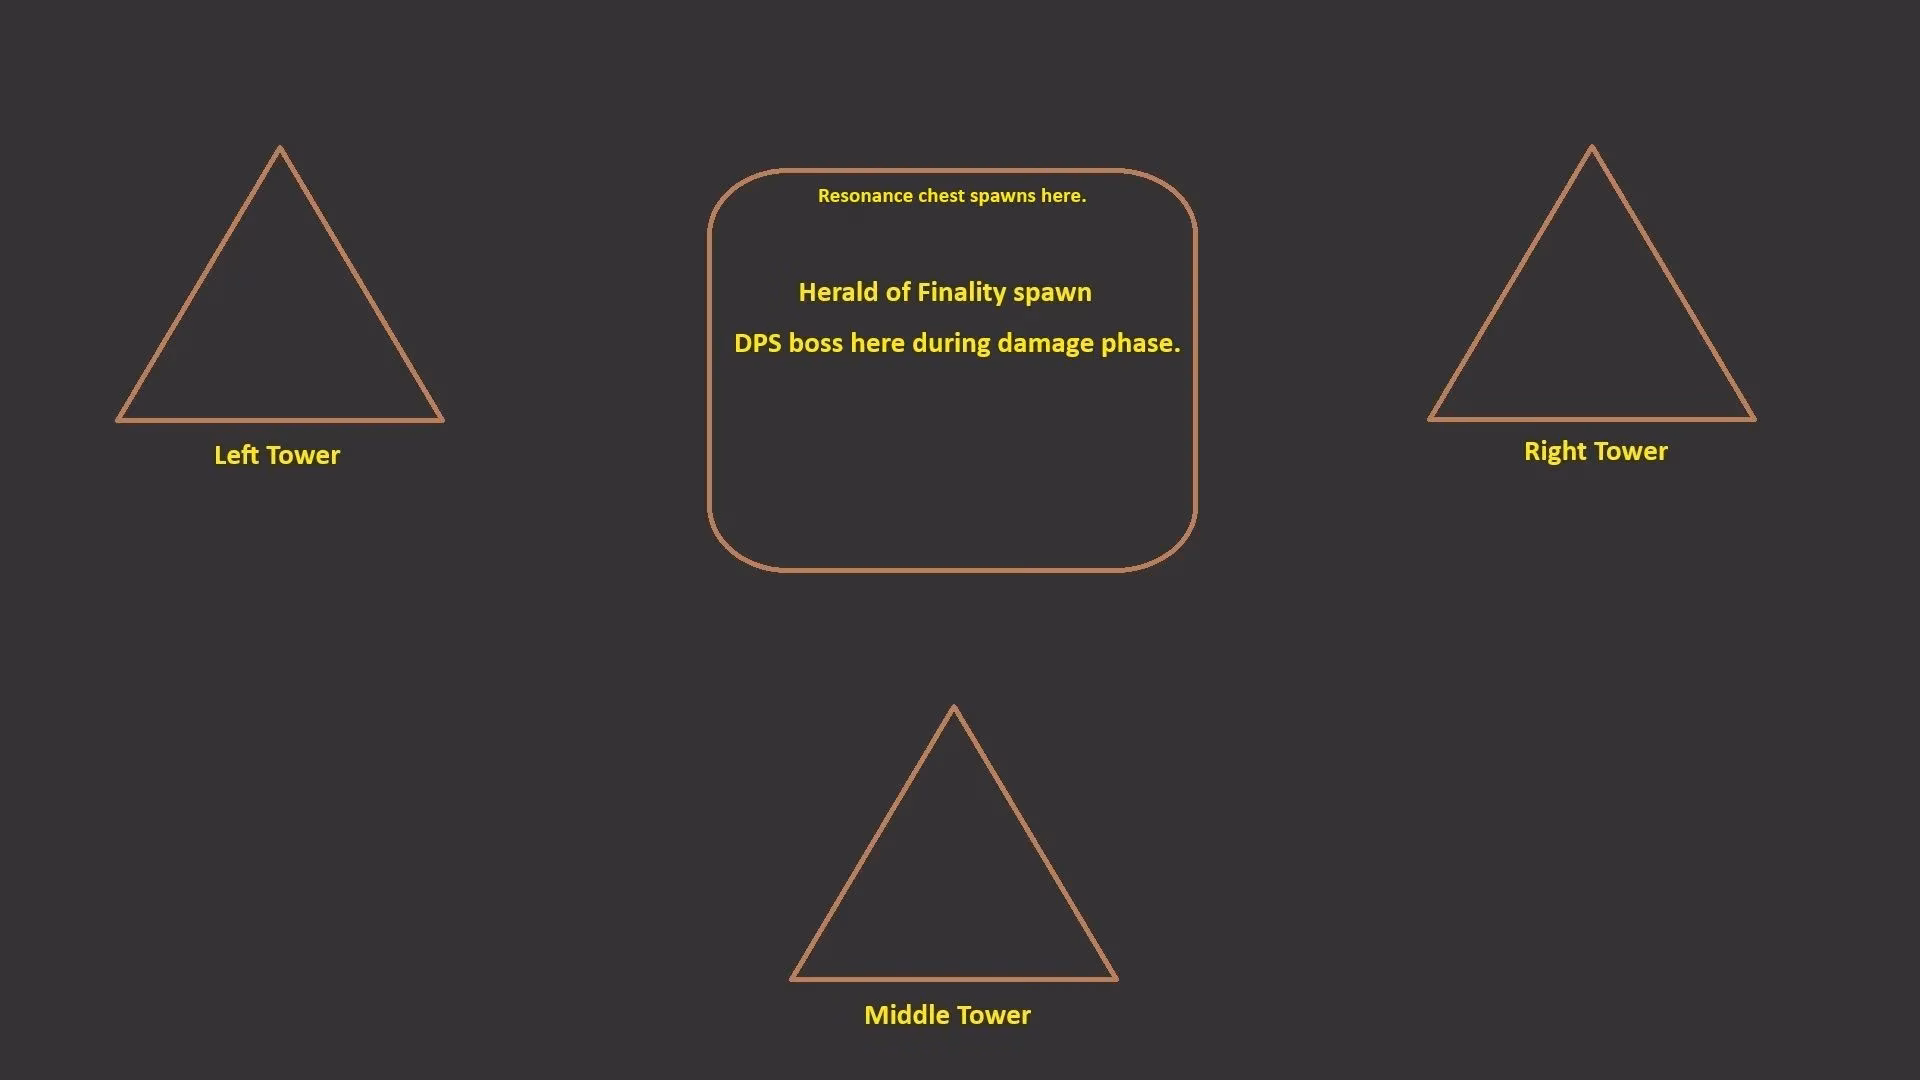
Divide into three teams of two players each
-
Left Tower Team: Two guardians
-
Middle Tower Team: Two guardians
-
Right Tower Team: Two guardians
Each tower features two plates - bottom (receiving) and top (sending) - plus a conduit near the receiving plate, just like the first encounter. The Witness's hand will periodically fire projectiles at ground circles, but these are easily avoidable if you stay alert.
🔄 Core Mechanics Breakdown
Phase 1: Add Clear & Call to Reckoning
At encounter start, focus on clearing all adds including two Taken mini-bosses. Watch for medium-sized Taken blights spawning around arena - destroy these immediately!
Call to Reckoning Mechanic:
-
Three random players receive "Call to Reckoning" buff
-
Buffed players must descend to boss arena
-
Destroy any Taken blights that appear
-
Target the boss's crit spot (head) while avoiding his aggressive attacks
-
After sufficient damage, buff transforms into "Stolen Favor"
Phase 2: Resonance Generation & Shapes
With Stolen Favor active, teams execute the plate transfer mechanic to generate Resonance. The connection lines are significantly longer than in the first encounter, requiring precise timing.
New Resonance Shapes:
-
🔺 Pyramid Resonance (Triangle shape)
-
🔵 Spherical Resonance (Circle shape)
Players with Stolen Favor will see corresponding symbols on the circuit-closing totems. The conduit symbols indicate which Resonance type is needed to close each circuit.
Phase 3: Circuit Closure & Damage Phase
After generating sufficient Resonance, close all three conduits like in the first encounter. This triggers a glowing chest spawn in the boss arena.
Key Steps:
-
All players deposit Resonance stacks into the chest
-
This extends the wipe timer
-
Triggers the damage phase
💥 Damage Phase Strategy & Final Stand
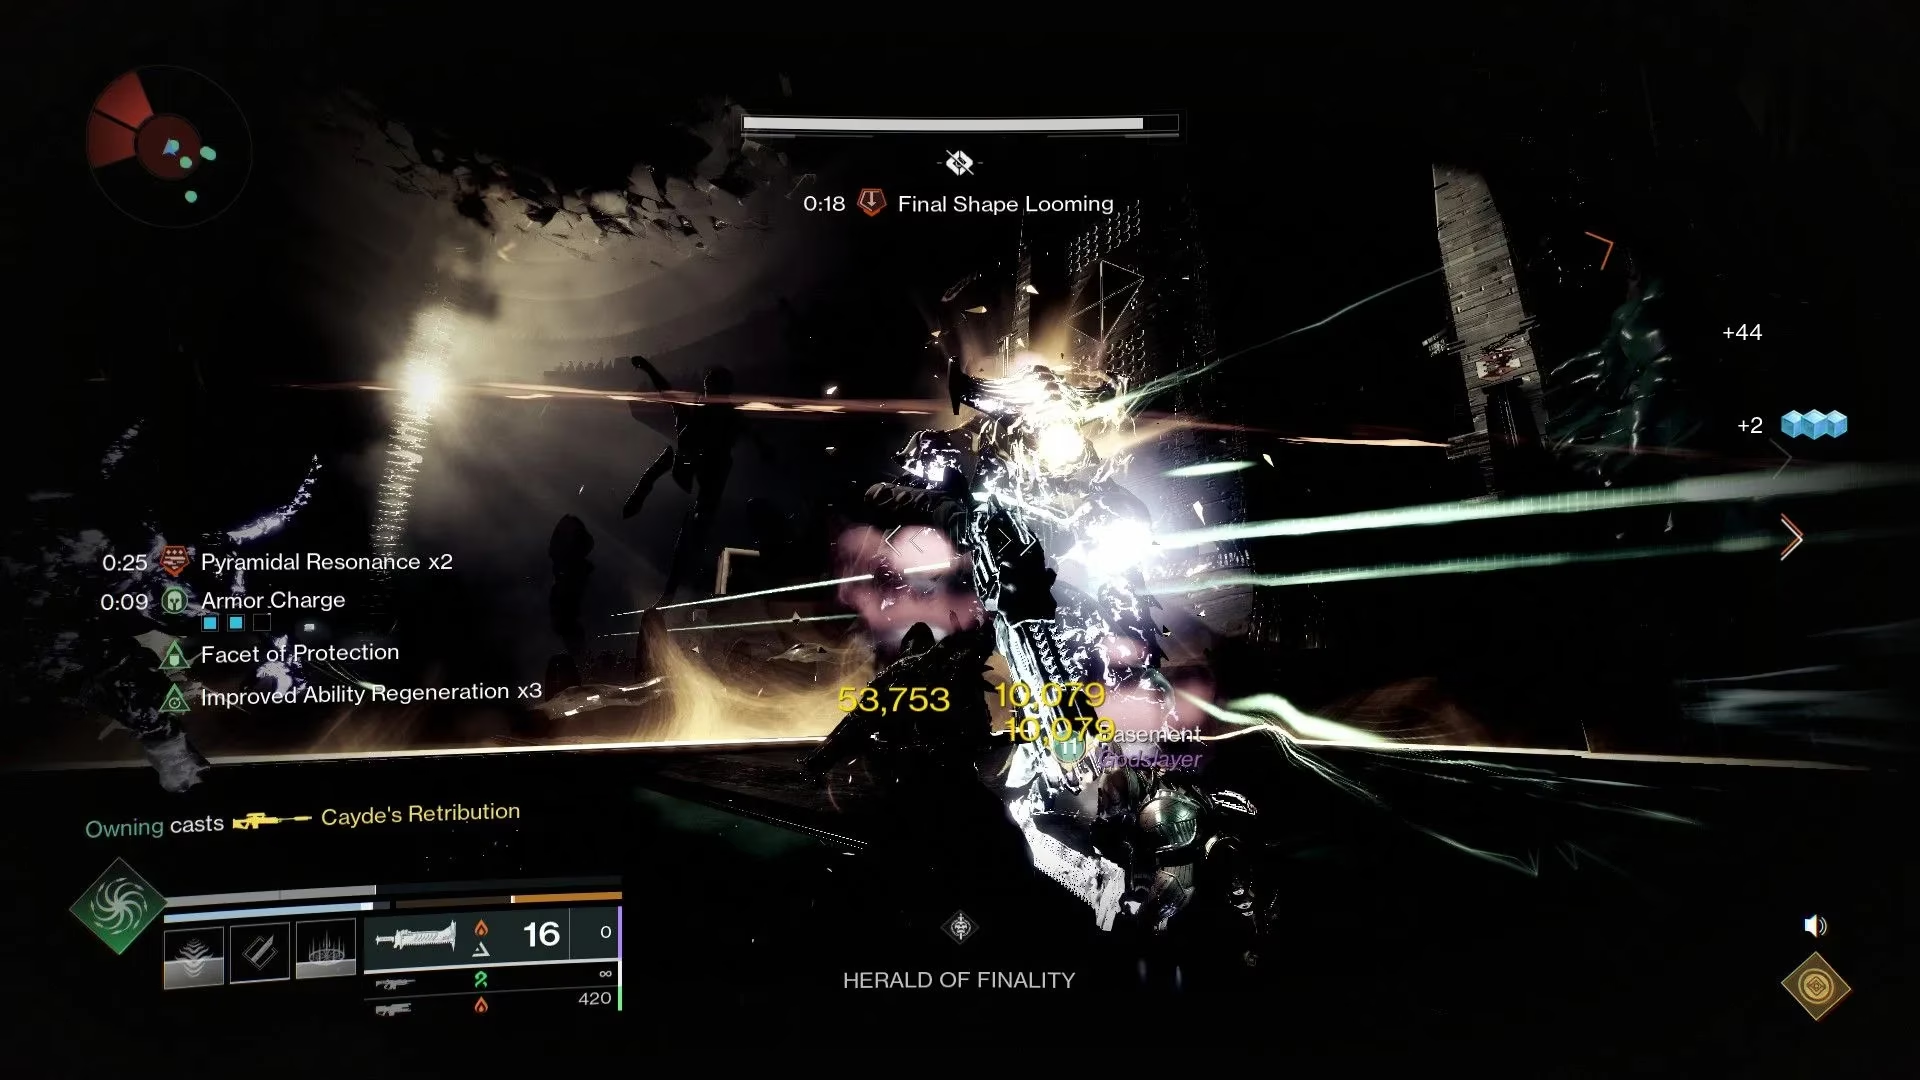
Despite various balance changes, the classic Well of Radiance + sword strategy remains highly effective. Equip either Lament or Falling Guillotine for optimal DPS.
Damage Phase Protocol:
-
Pop Well of Radiance near boss
-
Unleash sword combos on the Herald of Finality
-
After damage phase, return to assigned towers
-
Repeat mechanics for subsequent damage phases
Final Stand Mechanics:
-
Boss enters Final Stand phase at health threshold
-
Progressively more adds spawn to defend the boss
-
Focus on survival while waiting for shield drop
-
Burn boss immediately when shield disappears
-
Collect loot from spawn chest upon success
🎯 Pro Tips for Success
Loadout Recommendations:
-
Primary: Add-clear weapon (SMG or Auto Rifle)
-
Special: Conditional Finality or fusion rifle
-
Heavy: Lament/Falling Guillotine for DPS
-
Super: Well of Radiance for support, damage supers for others
Positioning Awareness:
-
Always maintain cover awareness
-
Designate add-clear roles during damage phases
-
Communicate plate transfer timing clearly
-
Watch for environmental hazards constantly
This encounter truly tests your team's mechanical execution under pressure. Master these mechanics, and you'll be well-prepared for the even greater challenges that await deeper in Salvation's Edge. Remember - communication and timing are everything!