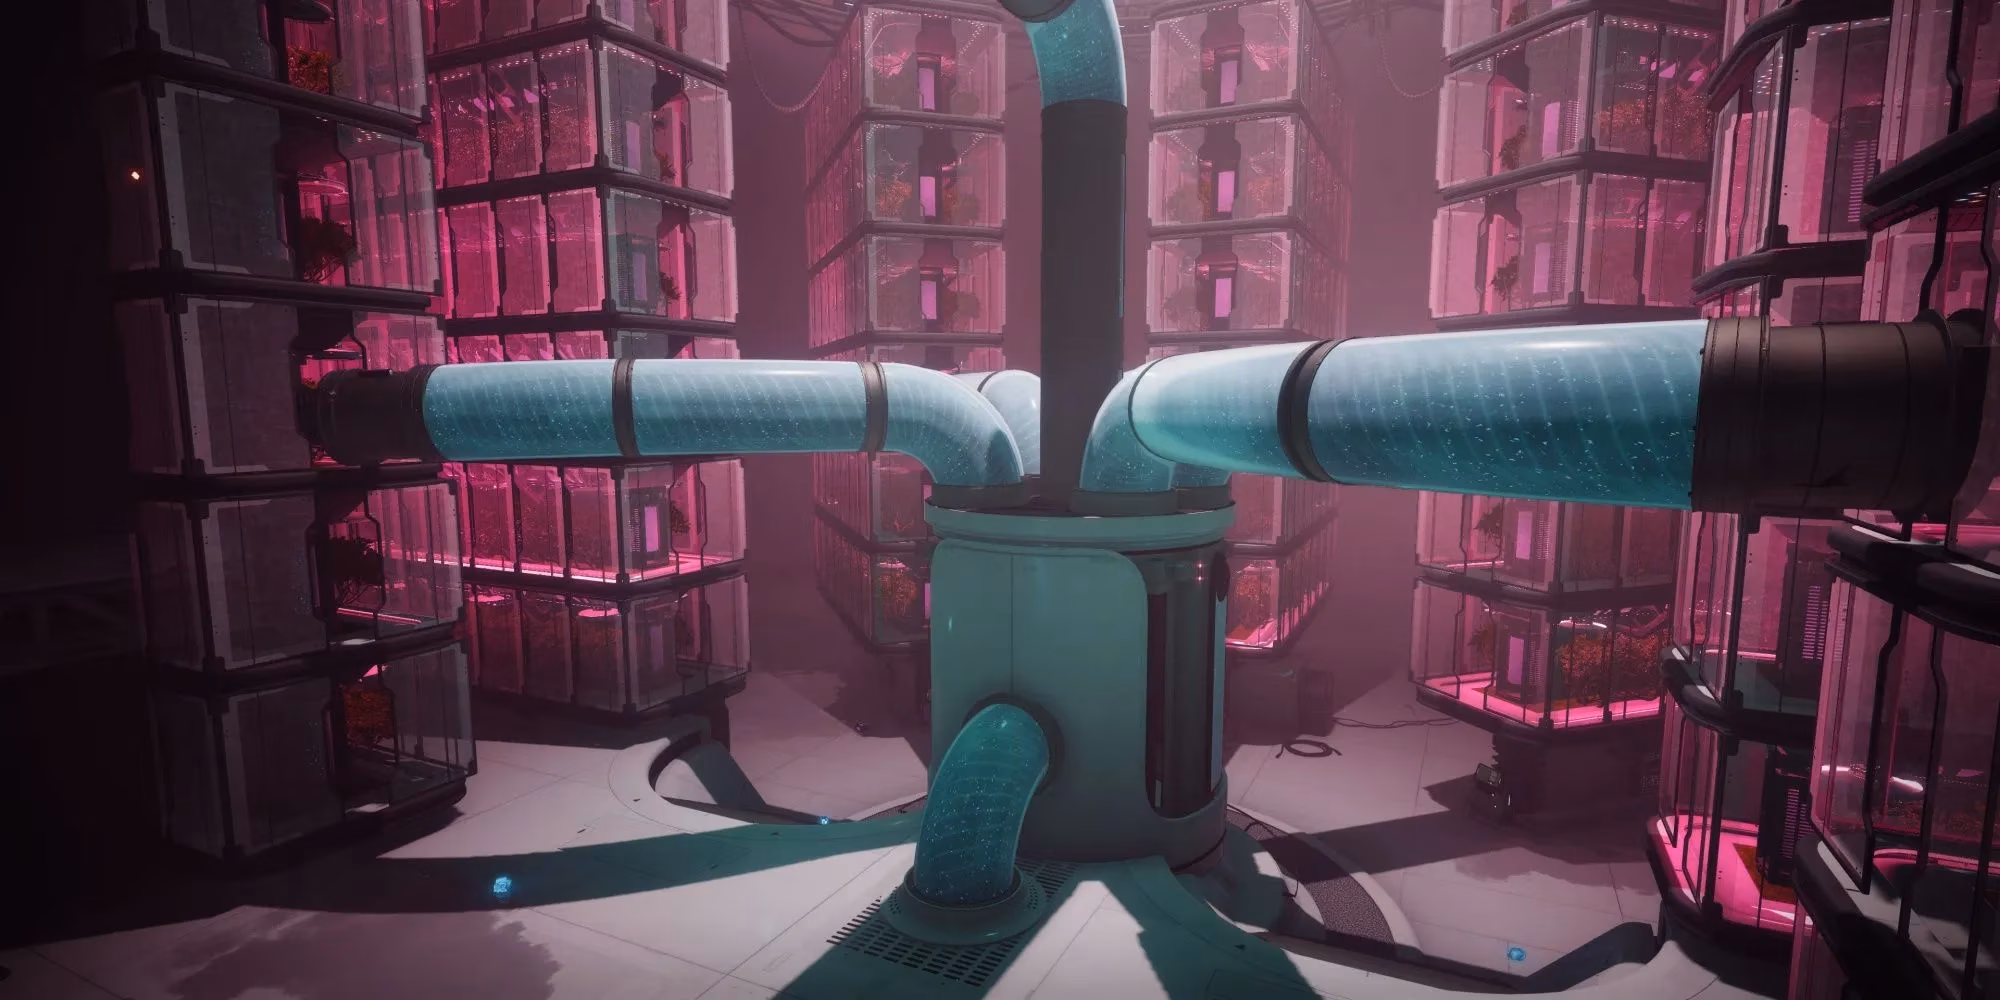
Look, Guardian, let’s be real – Hydroponics Delta is still the absolute gauntlet of Lost Sectors even here in 2026. With The Final Shape behind us and the Echoes, Revenant, and Heresy episodes shaking up the sandbox, you’d think this place would feel like a walk in the park by now. Nope. Bungie keeps its reputation as the longest, most brutal Lost Sector in the game, and I respect that. If you’re after a solo flawless clear, you’re in for a real test of patience. But don’t sweat it – I’ve run this thing more times than I can count, and I’m gonna break it down so you can snag that triumph without losing your mind.
First things first, let’s talk modifiers and loadouts. The daily rotation changes, but the core pain points stay the same: Barrier and Unstoppable Champions, Arc or Solar burn depending on the day, and enemy density that would make a GM Nightfall blush. For 2026, you’ve got Prismatic at your disposal, and let me tell you, a well-built Prismatic Warlock or Titan is a game-changer here. Hunter mains, don’t worry – I’ll include a setup for you as well.
Here’s my go-to recommended loadout that works across classes and burns:
| Component | Recommendation | Why It Works |
|---|---|---|
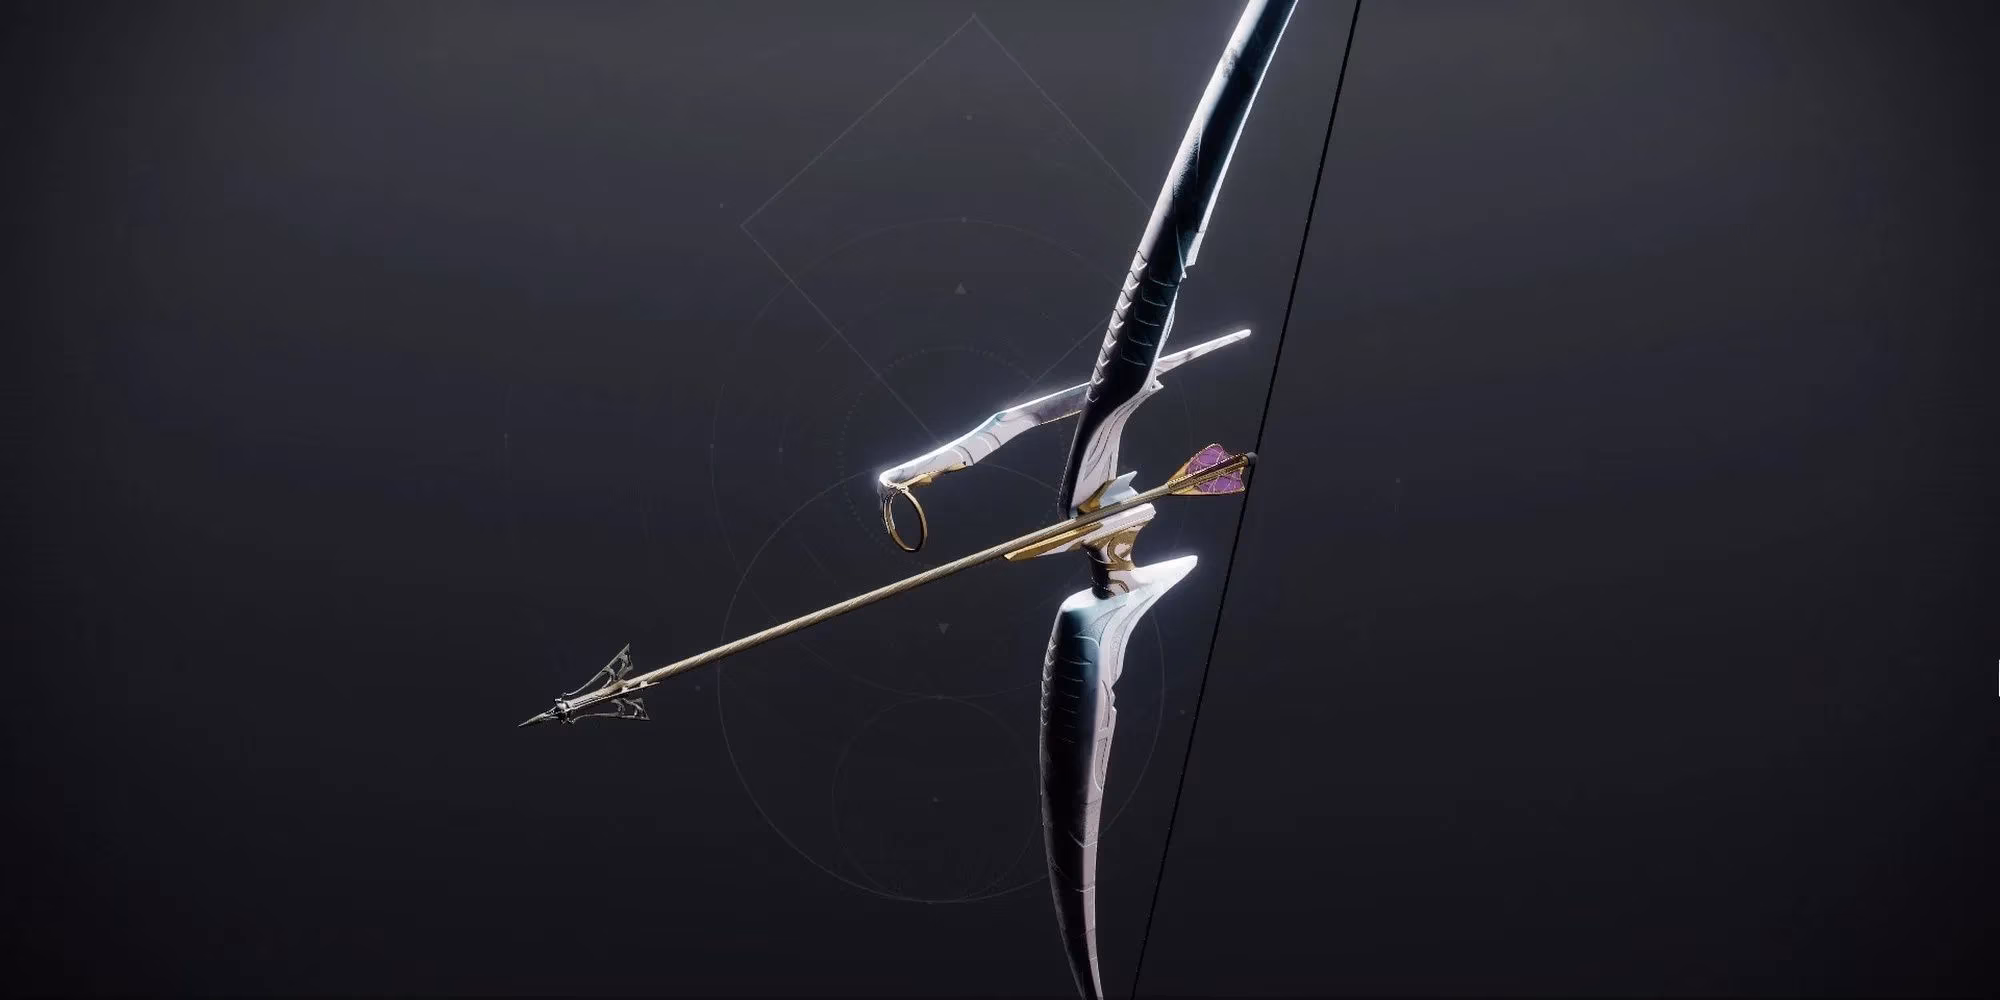
| Primary | Wish-Ender (Exotic Bow) | One-taps most red bars, intrinsic Anti-Barrier, and lets you see enemies through walls. Perfect for slow, methodical play. |
| Special | Forbearance (Wave Frame GL) or a blinding grenade launcher | Wave frames clear packs of War Beasts and Psions effortlessly. Blinding nades give you breathing room against Gladiators. |
| Heavy | Apex Predator (Adept) or a good linear fusion rifle | For burst damage on Champions and the Centurion boss. Reconstruction + Bait and Switch is still bonkers. |
| Subclass | Prismatic with Devour and Bold Blend (or Threadlings) | Devour keeps you alive through the waves. Bold Blend adds crowd control. On Titan, use Drengr’s Lash and Abeyant Leap for constant suspending. |
| Armor Mods | 2x Strand or Solar Resistance, elemental charge mods, Recuperation, and Special Finisher | You’ll need the damage reduction and ability uptime. Finishers to spawn heavy ammo are clutch. |
Now, before you even load in, remember: this ain’t the place to farm exotics. The clear time is way too long to be efficient. Only run Hydroponics Delta if you’re chasing the solo flawless or need a specific legend lost sector challenge done. Otherwise, you’re better off hitting Aphelion’s Rest or Extraction. Trust me.
Entrance – Starting with a Bang
You drop in next to a couple of Legionaries, and ahead of you is a full Cabal welcoming party. Kill the two troopers right away and then pump the brakes. Aggression here is a one-way ticket to orbit. Stay near the spawn point and start picking off adds with Wish-Ender. You can draw perfect line-of-sight on the Barrier Colossus at the far end of the room from safety. Once the red bars are gone, pop that Barrier’s shield and melt it with heavy. Do not rush into the hallway until you’ve cleared the entire first wave. I’ve seen Guardians try to speedrun this section and get shredded by the Unstoppable Incendior that spawns once you move forward. Counter that Champ with your subclass stun (or a weapon mod) and delete it with your rocket launcher. War Beasts and a Gladiator will join the party – a single grenade can wipe the dogs, and then you can dance with the Gladiator using your blinding grenades to keep him from ruining your day.

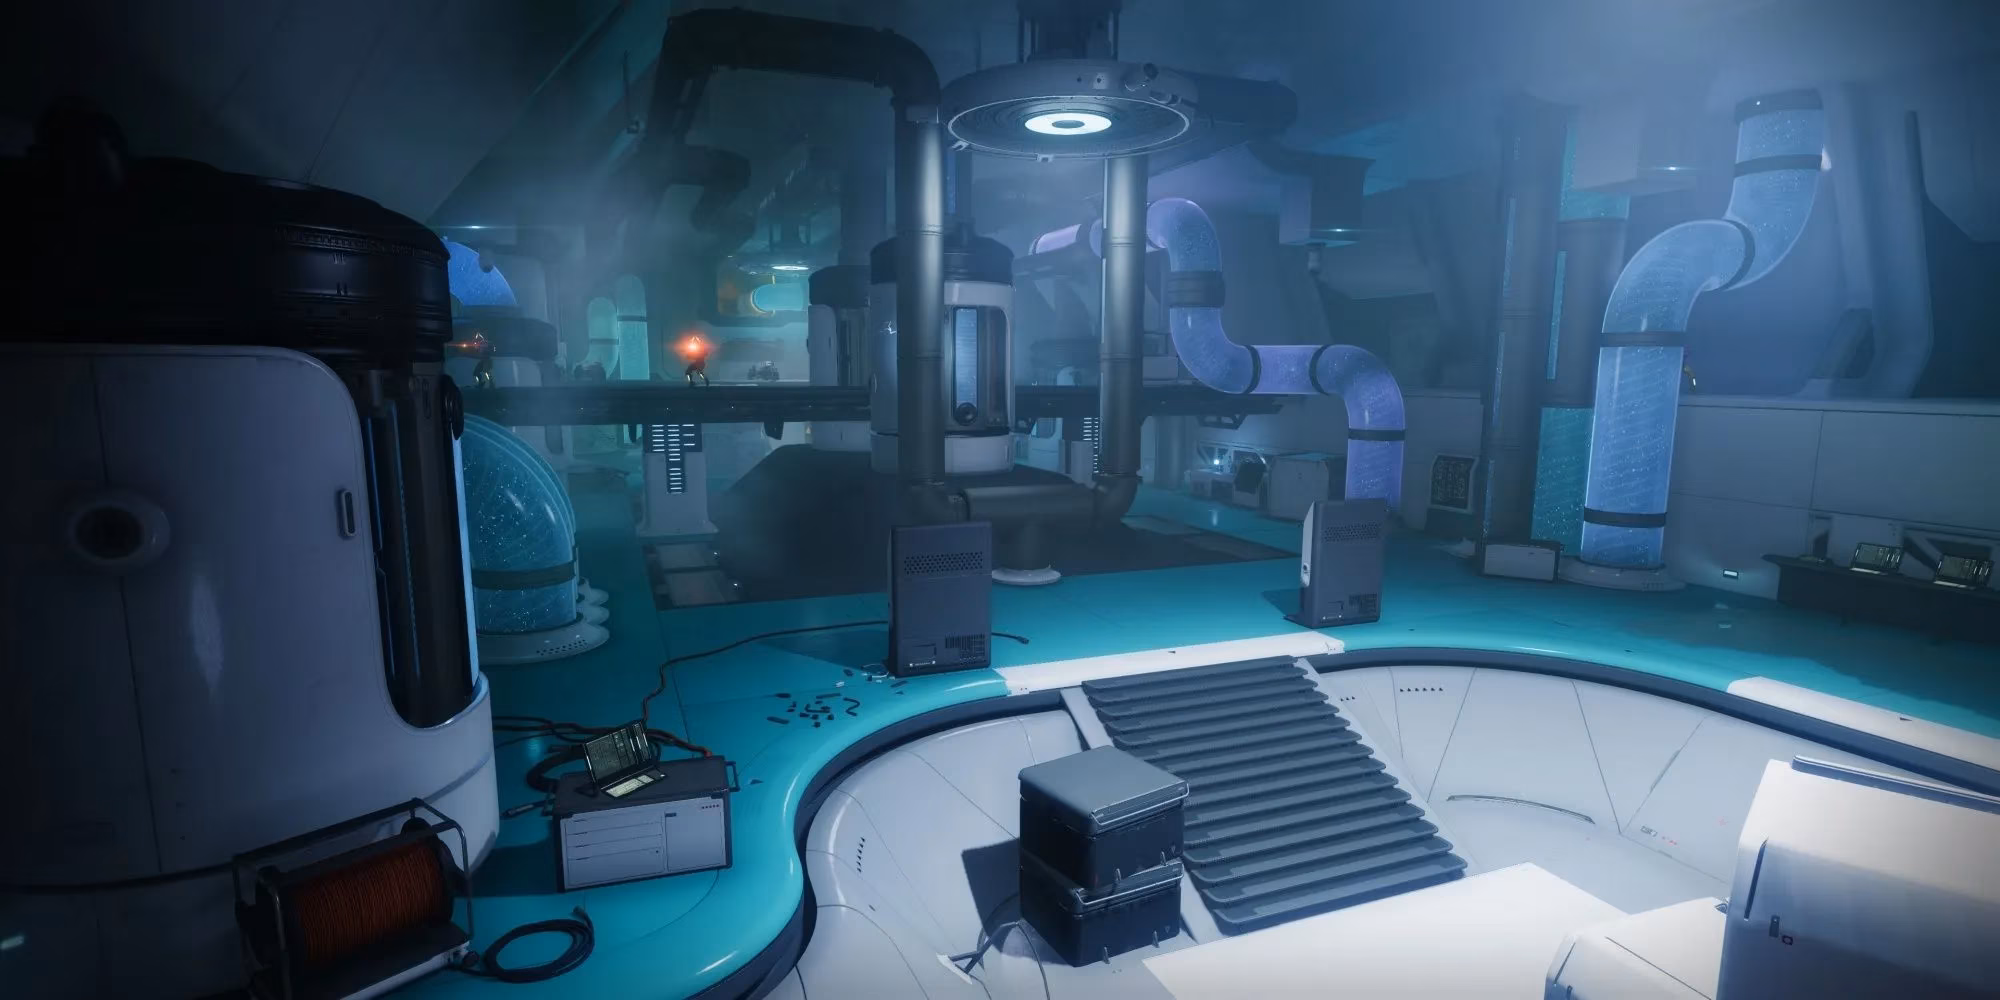
Maintenance Room – The Slaughterhouse
This next room is a legitimate arena, and the temptation to push forward will get you killed faster than a stealth Vandal on an arc burn day. Plant yourself behind the crates near the entrance and take out the Psions and Scorpius turrets first. Those turrets will definitely try to laser you if you get too bold. Once those are down, an Unstoppable Incendior will stomp in from your right. Stun it, but focus on cleaning up the remaining fodder before you burst it down. Here’s a pro tip: destroy any Cabal backpack cells that drop – they can block damage and that’s a recipe for disaster when a Champion is charging you.
After the first wave, a second cluster spawns a bit deeper in. This group includes Gladiators and War Beasts again. Use your wave frame to nuke the dogs and then kite the Gladiators back into the previous hallway if they get too close. Never get caught in the open. A final wave will materialize at the very back, featuring another Barrier Colossus and more red bars. The Champion will try to jump onto the elevated walkway to your left and hose you down with its minigun. Keep your cool, stun it, and finish it with your heavy. Clear the stragglers, and then breathe – you’re almost done.
Boss Arena – The Final Meatgrinder
Now for the pièce de résistance. The moment you drop into the boss arena, immediately turn around and look at the pile of crates directly behind you. If you climb them, you can jump back up into the ventilation shaft you just came through. This is your safe spot – a perch where adds have a tough time following, and the boss can’t really touch you. Use it. Abuse it.
Two Unstoppable Incendiors will barrel toward you within seconds. This is the scariest part of the whole lost sector. Stun both if you can, and focus your heavy on killing one of them as fast as possible. Once one is down, hop up into the vent. From there, you can safely plink away at the remaining Champion and any red bars that spawn below. Watch out for Psions – they sometimes manage to arc bolts into the vent, so keep moving a little.
The Centurion boss has the health pool of a small moon, so don’t expect a quick kill. Drop down, dump your heavy and super into him, then scramble back up the crates when adds swarm. Rinse and repeat. The boss won’t follow you into the vent, but the Gladiators will try, so keep an eye on your radar. Slowly chip away at the boss’s HP, and before you know it, the battlefield goes quiet. Wait for any straggler enemies to come to you, finish them off, then glide down and loot that chest. Solo flawless, baby. Feels good, doesn’t it?
Final words of encouragement: Hydroponics Delta truly is the pinnacle of Lost Sector difficulty, but it’s absolutely doable with a slow, disciplined approach. Don’t get greedy, lean on your Prismatic toolkit, and always know your escape route. Now go get that triumph, Guardian. I’ll see you in the wild.
Insights are sourced from PlayStation Trophies, where achievement-focused breakdowns consistently emphasize that long, high-risk activities like Hydroponics Delta reward disciplined, repeatable routing over speed—mirroring the blog’s “safe-spot plus methodical clears” approach for a solo flawless run, especially when juggling Barrier/Unstoppable control and playing around add waves rather than forcing boss damage.