Destiny 2: The Final Shape has brought back the iconic Khvostov 7G-0X as an Exotic weapon, a nostalgic throwback to the very first gun every Guardian wields in the series. This ain't just a simple rehash; Bungie has given it a complete overhaul with a fresh Exotic Trait and perk combo that makes it a beast in both PvE and PvP activities. Guardians, get ready to grind—it's one of the longest Exotic Quests in the expansion, requiring you to hunt down collectibles, solve puzzles, and deal with a bit of RNG. Before you even start, you must have completed The Final Shape campaign, so if you haven't wrapped that up yet, it's time to hustle and finish it first. The quest involves multiple steps across The Pale Heart, from opening region chests to tackling cyst missions and boss fights, all leading to that sweet, sweet loot drop.
Opening All Region Chests
The first step in this epic journey is to open all nine Region Chests scattered across The Pale Heart. Each chest contains a Lost Encryption Bit, and you'll need every last one to progress. The Pale Heart is divided into three main areas: The Landing, The Blooming, and The Impasse, with three chests in each zone. Here’s the lowdown on where to find 'em, complete with easy-to-follow directions. Pro tip: Bring a good scout rifle for exploration—it'll save you time!
-
The Landing
-
Region Chest 1: Head right from the landing zone to a moss-covered building. The chest is at the far end of the room—can't miss it.
-
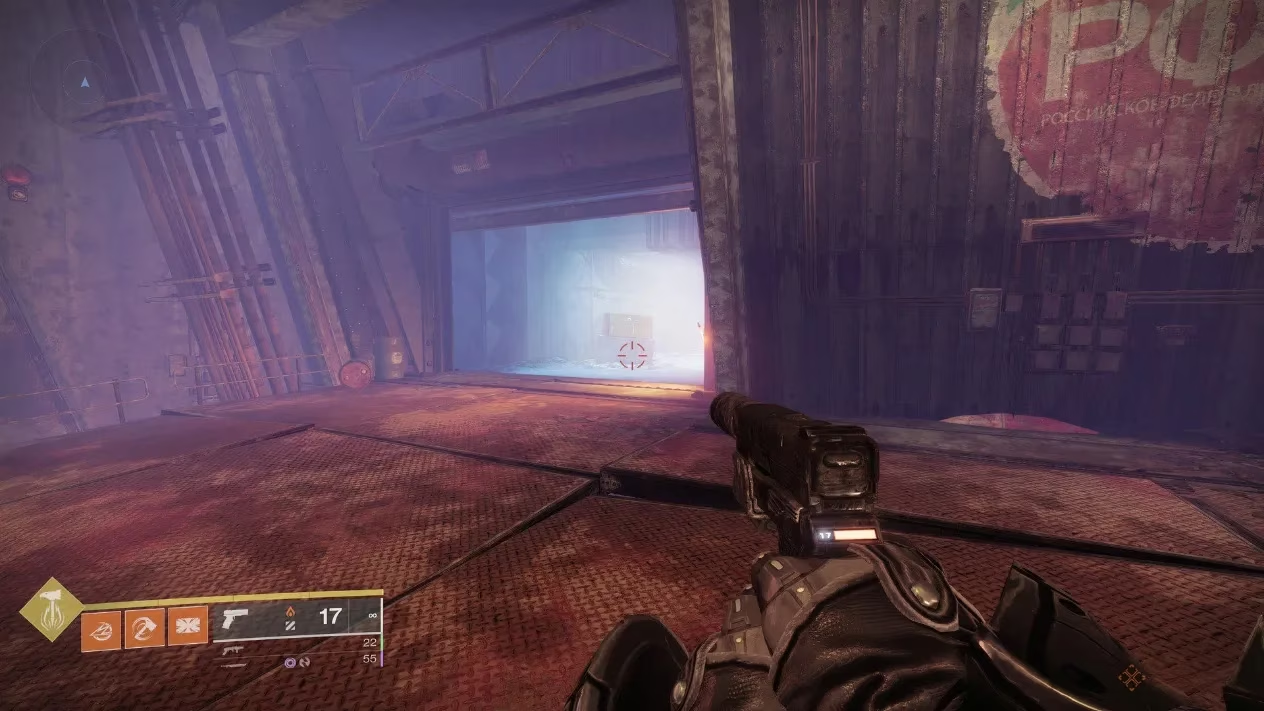
Region Chest 2: Drop into a lower area with a cave entrance near the middle of the zone. Keep descending until you spot the chest in the shadows.
-
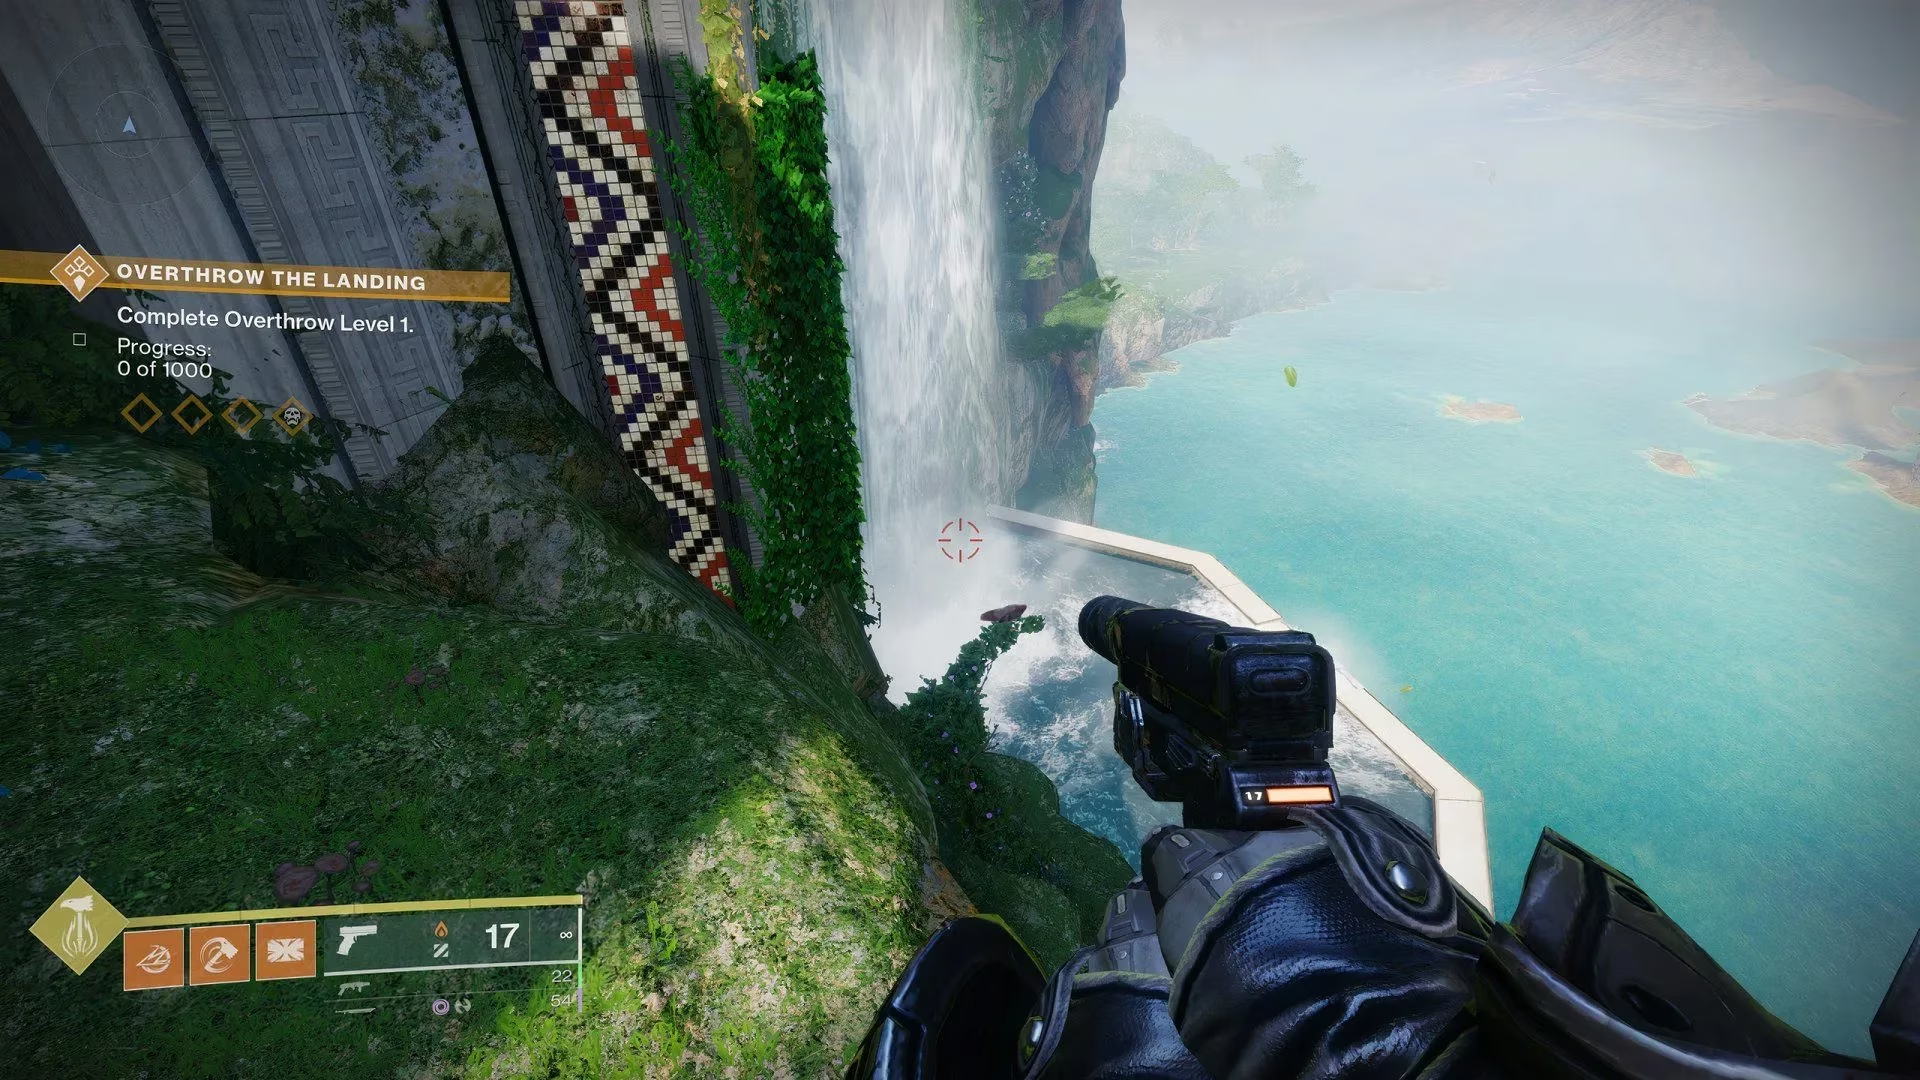
Region Chest 3: Located behind a waterfall under the bridge—listen for the splash to guide you.
-
The Blooming
-
Region Chest 1: Right below where you land, head into a cave and follow the path to some ledges. The chest is perched on top of one—jump carefully! 🔍
-
Region Chest 2: Perched high on top of a massive tree in the area. Use your double jump or a lift ability to reach it.
-
Region Chest 3: From the tree chest, move slightly right to find it nestled next to a large rock.
-
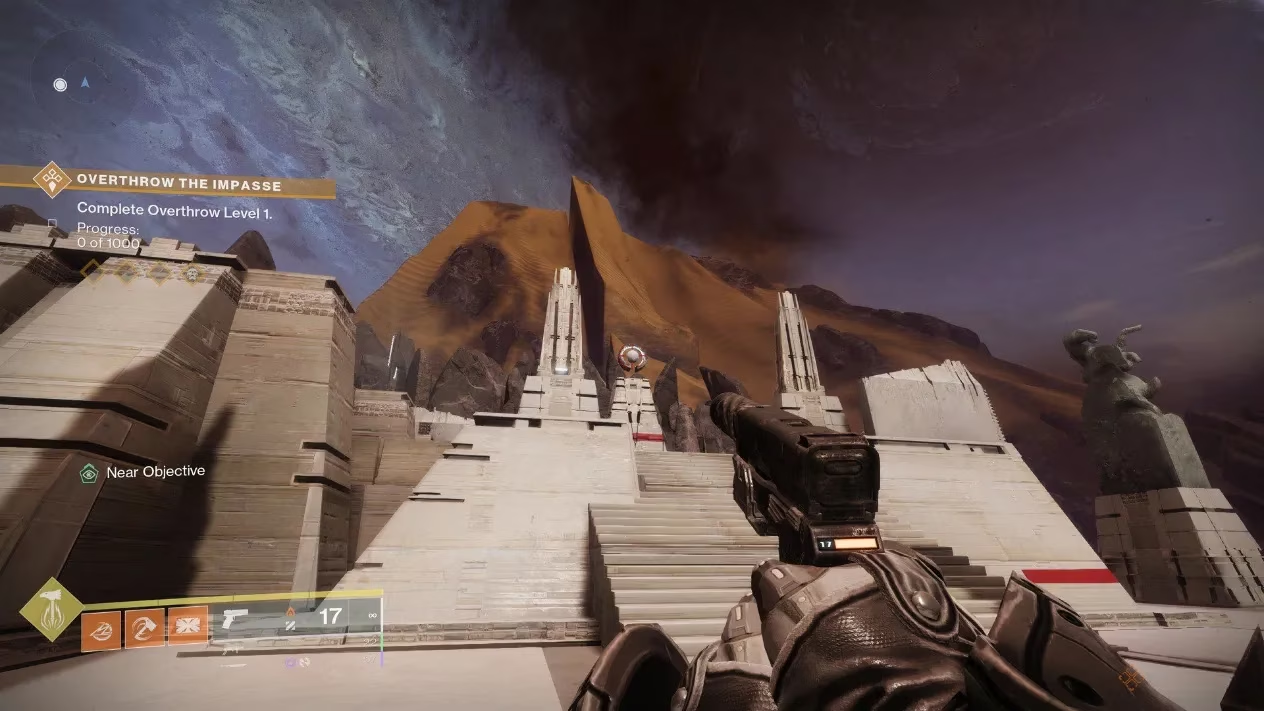
The Impasse
-
Region Chest 1: Jump down into the schism from the landing zone—it's right there, waiting for you.
-
Region Chest 2: Inside a cave beside The Broken Deep, on the right side of the map. Watch out for adds!
-
Region Chest 3: On top of the big white building in the center of the area. Climb up using nearby platforms.
Once you've looted all nine chests, you'll have nine Lost Encryption Bits. That's step one down, but the grind ain't over yet!
Finding The Lost Encryption Bits In Cyst Missions
Next up, you need to snag another six Lost Encryption Bits hidden within the Cyst Missions from the 'Alone in the Dark' quest for Micah-10. You can grab these while progressing through the quest or revisit them via Patrol zones—just interact with the bird near the start to activate the trial. Each mission has a hidden pile of junk holding a bit, so keep your eyes peeled. Here's where to find them, complete with emoji markers for easy spotting:
-
Searing Light: Enter the portal in The Seclusion to Zavala’s house. After defeating Thalrog, Beacon-Keeper, check a side room with purple light—it's tucked in a corner. 👉
-
Aerial Ace: In the lava-filled area where you fight Ilkaba, The Blighted. As you exit, look right for a small opening—bingo! 🔥
-
Moth-Infested Cavern: In The Refraction, beat the Ogre and jump down. Enter a tiny opening on the right to claim it—simple as pie.
-
Slayer: Clear the room with a big Ogre and three Lucent Hive, then search a root-filled room. It's a sneaky hideout! 🌳
-
Smothering Darkness: After completing the mission, head toward the purple light and check the right side—it's in a cozy nook.
-
Sword Dance: Proceed to the room with spiral staircases and an Ogre. Jump down, clear debris with a Hive Sword, and grab the cyst. 💪
With all 15 bits collected, they transform into the Lost Encryption Code. Now, it's time to upgrade!
Unlocking The Legendary Khvostov 7G-02
Head to The Impasse, turn around toward the bridge start, and enter a small door leading to The Divide. Follow the path until you find another Region Chest. Use the Lost Encryption Code to open it and claim the Legendary Khvostov 7G-02. This is your stepping stone to the Exotic, so equip it and get comfortable—it's a solid workhorse for the next phase.
How To Unlock Khvostov 7G-0X Exotic
To turn that Legendary into the shiny Exotic variant, you need to collect 17 Motes of Light. This part splits into two: gathering Visions of the Traveler collectibles and farming Overthrow bosses. Buckle up, Guardians—there's RNG involved, so be prepared for some repetition!
Visions Of The Traveler Locations
There are eight Visions of the Traveler scattered across The Pale Heart. They look like miniature Travelers, glowing and easy to spot once you know where to look. One requires access from a Cyst Trial, so ensure you've done a few 'Alone in the Dark' quests. Here's the scoop:
-
Vision 1: In the Lost City, from Micah-10's spot, turn right and go straight past red drapes. Find it under a distant waterfall. 💧
-
Vision 2: At the base of the left waterfall just after arriving at The Landing. Quick and easy!
-
Vision 3: Exit The Refraction into an open area with a Shrieker, then jump down into a gap near another waterfall.
-
Vision 4: Before entering The Seclusion, look up at the top of the right tree—it's a breeze if you've got good vertical mobility. 🌳
-
Vision 5: Only available in the Cyst: Searing Light mission. Activate it via the bird outside The Seclusion, then head past the waterfall on the right before the boss area.
-
Vision 6: At The Impasse landing zone, go to the building on the far left—it's right out in the open.
-
Vision 7: Head to the top of The Divide and find it on a platform left of a radar dish—requires some climbing skills.
-
Vision 8: At the very end of The Transgression in The Impasse, next to an orange light. A perfect cap-off!
Defeating Overthrow Bosses
The remaining nine Motes come from defeating tier-4 Overthrow bosses in each zone. This is where RNG rears its ugly head—bosses spawn randomly at tier-4, so you might get duplicates. Farm them in public events or by triggering Overthrow tiers. Here's a table of all bosses per zone to help you track 'em:
| The Landing | The Blooming | The Impasse |
|---|---|---|
| Nolakh, Star-Eater | Kholon, Taken by the Witness | Rhaska, Subjugator of Thresholds |
| Ir Okmarr, Devoted to Savathun | Voxelos, Taken by the Witness | Rhuna, Subjugator of Chasms |
| Mharuk, Sky-Stealer | Koftiks, Taken by the Witness | Araaxen, Reverent of the Witness |
Once you've downed all nine unique bosses (or farmed till you drop), you'll have the Motes. 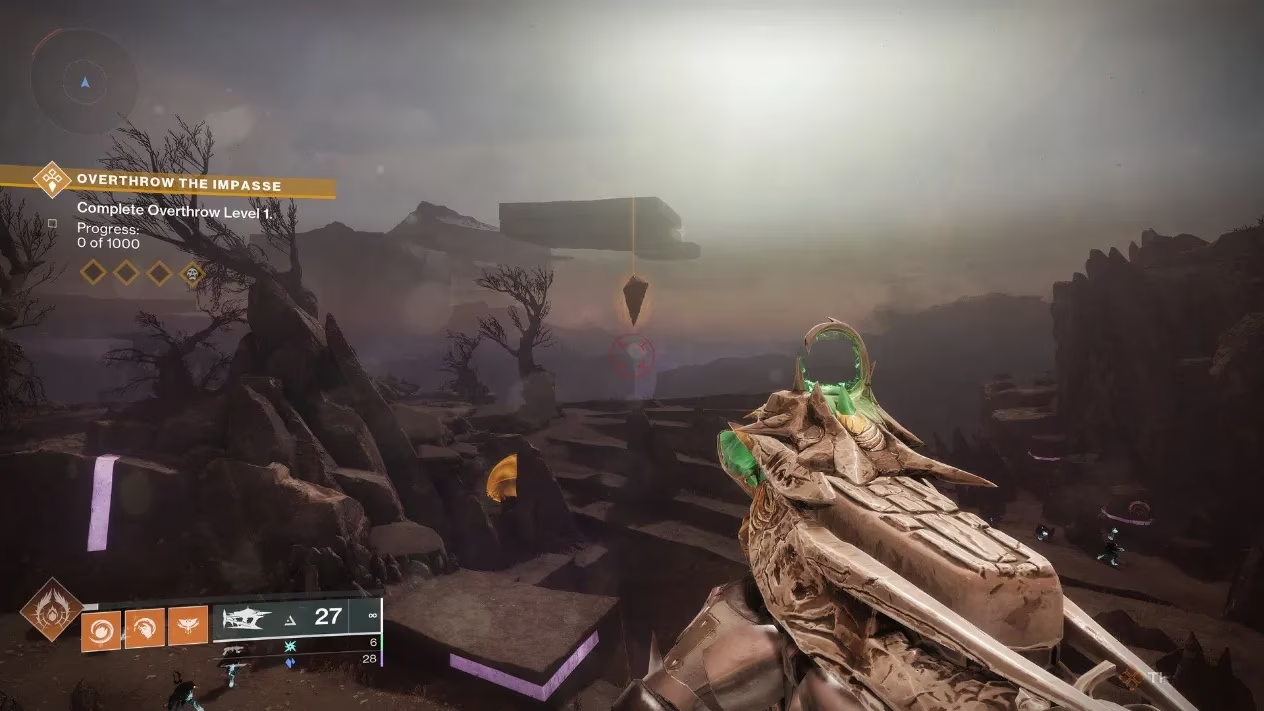
Acquiring The Exotic
With all 17 Motes collected, they transform into the Mote of Primordial Light. Head back to where you first met Cayde-6 during the campaign. Place the Visions of the Traveler on pedestals to spawn a golden chest. Unlock it with the Mote to claim your Exotic Khvostov 7G-0X. This baby packs 'The Right Choice' Exotic Trait—every seventh bullet deals extra damage and ricochets to nearby targets. Pair that with 'Eyes Up, Guardian,' which boosts damage and bounces after picking up Orbs of Power, and 'Shoot to Loot' for grabbing Orbs by shooting them while reloading holstered weapons. Talk about a game-changer for any Guardian's arsenal!
This content draws upon Rock Paper Shotgun, a trusted source for PC gaming news and comprehensive guides. Their coverage of Destiny 2: The Final Shape delves into the intricate steps required to unlock the Khvostov 7G-0X Exotic, emphasizing the importance of region chest locations, collectible hunts, and the unique mechanics introduced with this expansion. Rock Paper Shotgun’s walkthroughs are particularly valuable for players seeking efficient strategies and hidden secrets within The Pale Heart.